In this article from Linquip, we want to talk about how to plumb an expansion tank. These devices protect pipes and plumbing systems and are necessary for every place, whether residential or industrial. If you are eager to know how to plumb an expansion tank, then continue reading.
What are Expansion Tanks and Why Should We Install Them?
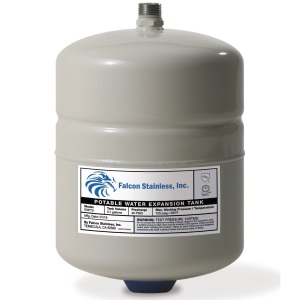
Expansion tanks are devices protecting pipes in plumbing systems. These tanks contain a pressure-limiting valve or back-flow preventer. When installing a new water heater, you may need to install an expansion tank because of your local building code. You should also install an expansion tank for an existing water heater to add protection.
What to do before installation?
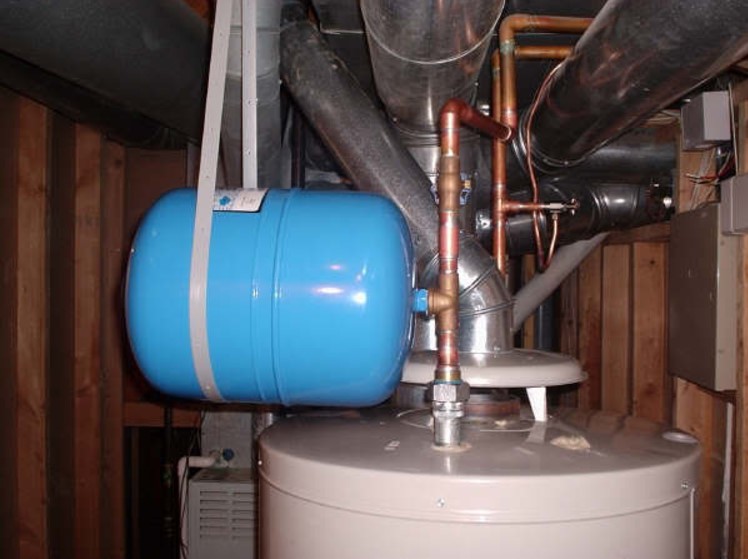
If you want to know how to plumb an expansion tank, first you need to have a plan. Sketch out a diagram on how to run a branch line off of your water supply to the expansion tank. You’ll need a line from the expansion tank to a tee-fitting that will be installed in the cold water supply line. You’ll also need a few elbow fittings. Then, choose a spot. PEX lines are easier to deal with, but many places use copper lines, which make the job a bit more complicated but still doable. Decide where you want to install the expansion tank and make sure it’s as close to the water heater as possible. You should place the expansion tank above the water heater by at least 18 inches.
What to use when installing an expansion tank
To install an expansion tank, you need multiple tools. These tools are among common tools that can be found in every place that has a person with such hubbies. Keep in mind that you can always ask an expert to help you install an expansion tank. Using an expert to install such items is always a safer option.
For installing an expansion tank you’ll need these tools:
- Thermal expansion tank
- Pipe wrench or channel-lock pliers
- Pipe-sealing tape
- Dielectric water heater nipple
- 3/4-inch copper female-threaded unions (x2)
- 3/4-inch copper pipe
- 3/4-inch copper tee-fitting
- Copper flex pipes (if necessary)
- Additional 3/4-inch copper fittings (as needed)
- Plumbing soldering equipment (if necessary)
These were all the tools you’ll need for installing an expansion tank. Now, let’s learn how to plumb an expansion tank.
How to plumb an expansion tank?
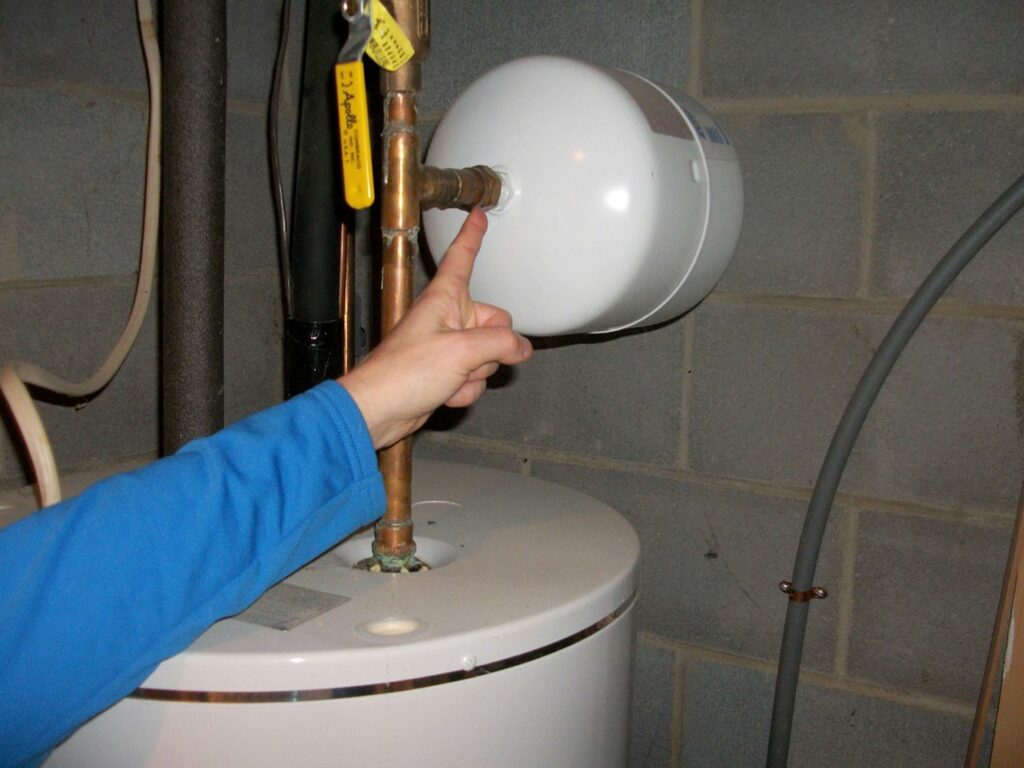
To install an expansion tank, you should usually consider a place above the water heater. They are installed via a tee-fitting installed in the cold water delivery pipe. If you have limited space, you can install your expansion tank vertically, but it is advised to install them horizontally. The plumbing pipes of your place determine the plumbing fittings you should use. But usually, copper pipes and fittings are used to make the connections. Usually, tee-fitting and short lengths, threaded or sweat-soldered pipes connect the expansion tank’s 3/4-inch threaded fitting to the cold water pipe. Now that you know the basics, let’s get into the details of how to plumb an expansion tank:
Step1: Attach a dielectric union
In the first step, after correctly positioning the water heater, you should attach a dielectric union to the entry port of the cold water. Find the threads of the union and wrap them with pipe sealing tape. Now, use a pipe wrench or channel-lock plier and thread it into the inlet port of the cold water on the heater.
Step2: Attach the copper adapter
In the second step of how to plumb an expansion tank, use the top threads of the union as the base to wrap several loops of pipe sealing tape around it. Then, use a female threaded copper adapter and thread it onto the union. Use a pipe wrench or channel-lock pliers and tighten them securely.
Step3: Attach a tee-fitting
Cut a short length of copper pipe and a tee-fitting and install them to the adapter on the dielectric union of the water heater. Keep in mind that you should install the tee-fitting about one foot above the water heater. This is because it should have a space to provide suitable clearance for the expansion tank. You can make these connections by using push-fit connections (aka shark-bite) or sweat-soldering. Using sweat-soldering is more common among plumbers to make these connections.
Step4: Attach the expansion tank pipe
In the fourth step on how to plumb an expansion tank, you should use a sweat-soldering or use a push-fit connection in order to connect a small horizontal copper pipe to the side outlet of the tee-fitting that you’ve connected in the previous step. You should cut the copper pipe based on your available space, but the smaller, the better. Keep in mind that it should be less than 6 inches. Pick a female threaded adapter and by utilizing a sweat-soldering or a push-fit connection, attach it to the end of the horizontal pipe.
Step5: Attach the expansion tank
In this step, you should wrap a piece of pipe-sealing tape around the threaded fitting that has been placed on the expansion tank. After that, you should use a screwdriver to screw it onto the threaded adapter on the horizontal pipe. You can also tighten it by hand but make sure not to over-tighten it since it can damage the fittings or the pipes and ruin the whole setting.
Step6: Finalize the installation
The last step on how to plumb an expansion tank is to finalize the installation. Use a copper flex line or rigid pipes to connect the top outlet of the tee-fitting to the cold water supply pipe. Connect the water heater to the hot-water pipe connections as well.
Now, turn the water heater on. By opening the water valves, check the working process and look for leaks in the pipes. If you see no leaks, then you’re good to go!
That was all there is to know about how to plumb an expansion tank. What do you think about this process? Have you done it before? Or did you ask an expert to install the expansion tank for you? Share your experience in the comment section with us. If you have any questions about this process, signup on Linquip and our expert will answer all your questions in a flash.
Buy Equipment or Ask for a Service
By using Linquip RFQ Service, you can expect to receive quotations from various suppliers across multiple industries and regions.
Click Here to Request a Quotation From Suppliers and Service Providers
Read More on Linquip


