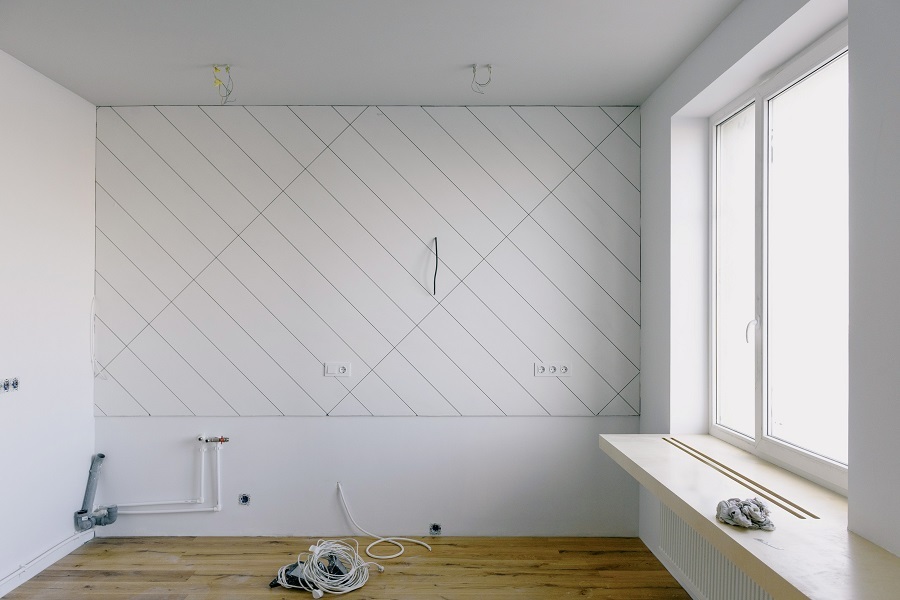
Plumbing fixtures allow us to have clean and safe water for hygienic purposes and maintain the cleanliness of your commercial space by transporting waste to the central sewage system.
But we all know that leaving these fixtures on a wall can affect the aesthetic features. Covering a line can be tricky and sometimes lead to more work, which will require professional help. But you don’t have to worry! We will help you to conceal pipes behind your walls properly.
Tools:
- Demolition tools
- Drill with various bits and hole saws
- Reciprocating saw
- Level
- Pipes
- Pipe fittings
- Clamps
- Assessment and Wall Removal
Assess your structure’s framing if you need to run a new set of plumbing pipes. Installing toilets must have a 3-inch drain. You can only install this if the stud wall is 2x6s or larger. You can run a 2-inch line through a 2×4 wall. After the assessment, remove the wall surface, continuing to the ceiling.
- Prepare for New Pipes
Cut a hole and leave space for safety and convenient access to your newly installed pipes. Installing access panels will also allow convenient access for checkups or repairs whenever necessary. For a 3-inch tube, use a drill and reciprocating saw to cut a hole about 4-1/4 inches by 10 inches through the bottom plate of the room. Cut a ten-inch by two-foot flooring section, then proceed to the next step.
- Assembling and Pipeline Placement
After assembling the prepared fittings onto the top of the drainpipe, ensure that you place the fittings in the appropriate direction. The drainpipe should be longer than required. You can cut it to size from the bottom later. Slip the pipe down through the hole created.
- Run the Vent
You will also need to cut a hole in the room’s wall below or above to guide the vent pipe up or the drain pipe down. You can install the vent in your attic to tie it into an existing duct. If not capable, you can drill a hole in the attic ceiling and have a roof technician install a roof jack for the vent pipe.
- Guide and Attach the Pipes
To install the drain pipes in place, anchor them with straps. Afterward, cut a smaller opening into the ceiling for the vent pipe placement. For a one and a half-inch vent pipe, a two-and-a-half-inch hole is sufficient. Run the vent pipe through the hole and into the attic or room above. Slip its adjacent end into the fitting on the floor.
- Stabilize and Protect Your Pipes
Whenever possible, run the pipes through holes in the center of framing members. Line the holes with wood shims or felt to keep pipes from moving or rattling. Slip a shim under the tube and tap in until it is firmly placed but not too tight to allow further expansion. If notches are required, assemble them as small as possible. Cracks can weaken the framing member, which you want to avoid. You can also use metal plates to secure pipes from protruding nails.
Takeaway
Doing this task can be complex and will require professional assistance. However, our easy guide can help properly conceal pipes that run behind your wall.


